Over time, as my collection of media, photos, and project files kept growing, I started to feel a slow, persistent anxiety about relying entirely on the cloud. I wanted a single, safe place to store everything—a digital vault that I actually owned.
Instead of just renting space from a tech giant, I decided to build a low-power home NAS (Network-Attached Storage). This isn’t just a box of hard drives; it’s a small self-hosting lab that handles my backups, media streaming, and a growing list of Dockerized services.
The Vision: Ownership and Efficiency
The goal was to build a server that was powerful enough to handle 4K transcoding and AI photo management, but efficient enough that I didn’t have to worry about the electricity bill. I wanted a system that would be “evergreen”—easy to expand, easy to maintain, and reliable enough to forget it’s even there.
At the center of the system is the ASRock N100DC-ITX motherboard with Intel’s efficient quad-core N100 processor. It’s a great fit for a low-power home server that can run several Docker containers without consuming much electricity.
Components
-
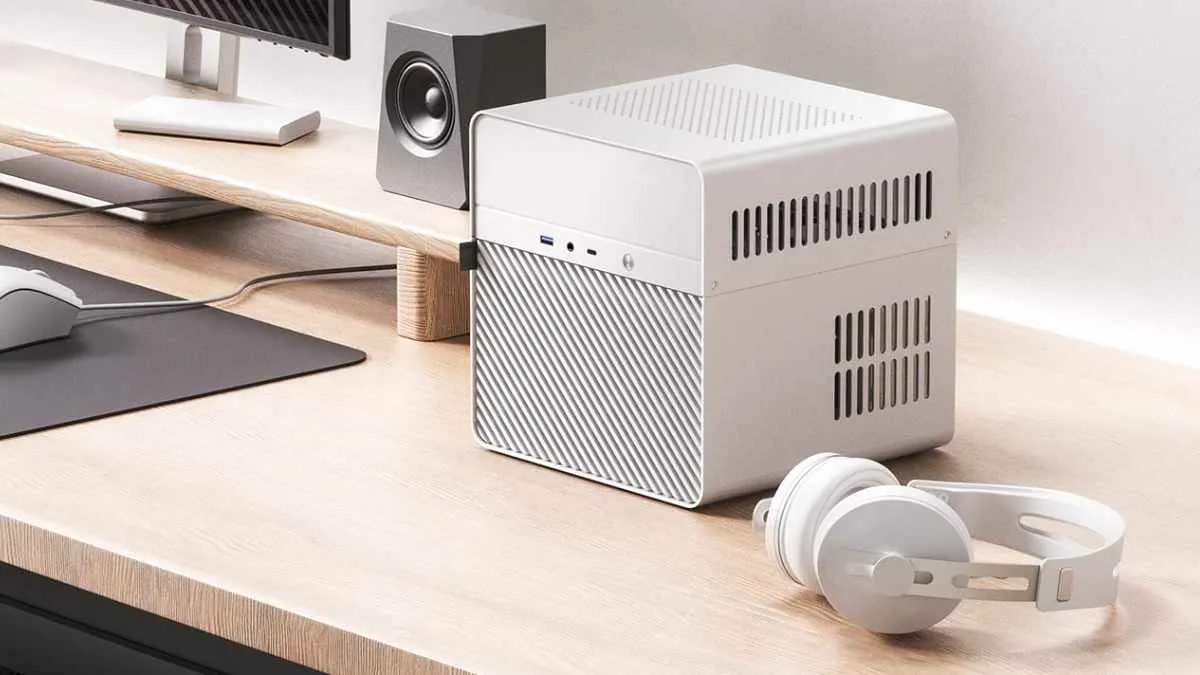
Case
White Jonsbo N2 – compact, quiet, and designed specifically for NAS builds. -
RAM
8 GB DDR4, which is plenty for my current workload. -
Cache Drive
WD Red SN700 NVMe (1 TB) used for application data and caching. -
Storage Drives
- HGST Ultrastar He8 – 8 TB
- Seagate IronWolf – 8 TB
-
Cooling
Noctua NF-A12x25 for quiet airflow.
The drives run with Unraid parity protection, which means the system can recover data if one of the disks fails.
In the future I plan to upgrade to four 24 TB drives, which should give the system plenty of room for long-term storage.
Software: Why Unraid
For the operating system I chose Unraid.
The main reason is flexibility. Unlike traditional RAID setups, Unraid allows drives of different sizes to be combined in one array while still providing parity protection.
It also has a very good web interface and makes running Docker containers extremely easy.
Docker Containers
Most of the functionality of the NAS comes from Docker containers. Some of the main ones I’m currently running:
-
Plex Media Server
Streams movies, shows, and music to devices around the house. -
Immich
Self-hosted photo and video management with automatic backups and AI features. -
Home Assistant
The central hub for my smart home setup. -
DuckDNS
Allows secure remote access to services running on the NAS. -
Nginx Proxy Manager
Handles reverse proxy routing and SSL certificates. -
Tautulli
Provides statistics and monitoring for Plex usage.
Each container is configured with dedicated volumes and ports, which makes updates and troubleshooting straightforward.
What I Use the NAS For
The NAS quickly became one of the most useful pieces of tech in my home.
Media Server
With Plex, the NAS streams movies and TV shows to devices throughout the house.
Photo Storage
Immich automatically backs up photos and videos from my phone and organizes them with AI-based search.
Smart Home
Running Home Assistant allows me to control lights, sensors, and automations from one central system.
File Storage
It also acts as a central place for documents, projects, and backups.
Experimentation
Because it’s easy to spin up new Docker containers, the NAS doubles as a small playground for testing self-hosted tools.
Challenges
Like most DIY projects, the build wasn’t completely smooth.
Drive noise
NAS drives can be surprisingly loud. Choosing quiet components and tuning fan curves helped keep the system unobtrusive.
Container configuration
Running multiple Docker containers requires careful planning around ports, volumes, and networking.
Storage layout
Figuring out the best balance between cache and long-term storage took some experimentation.
Final Thoughts
The main lesson is that a home NAS becomes more useful when it has a clear role. Mine is not only storage; it is backup, media, and a small self-hosting lab. Knowing that helped me choose hardware, services, and maintenance habits without overbuilding it.
Building this NAS turned out to be a great project. It’s not only a useful tool for storage and media streaming, but also a flexible platform for running self-hosted services and experimenting with new software.
If you’re thinking about building your own home server, Unraid is a very approachable way to get started while still offering plenty of flexibility.
Happy building.